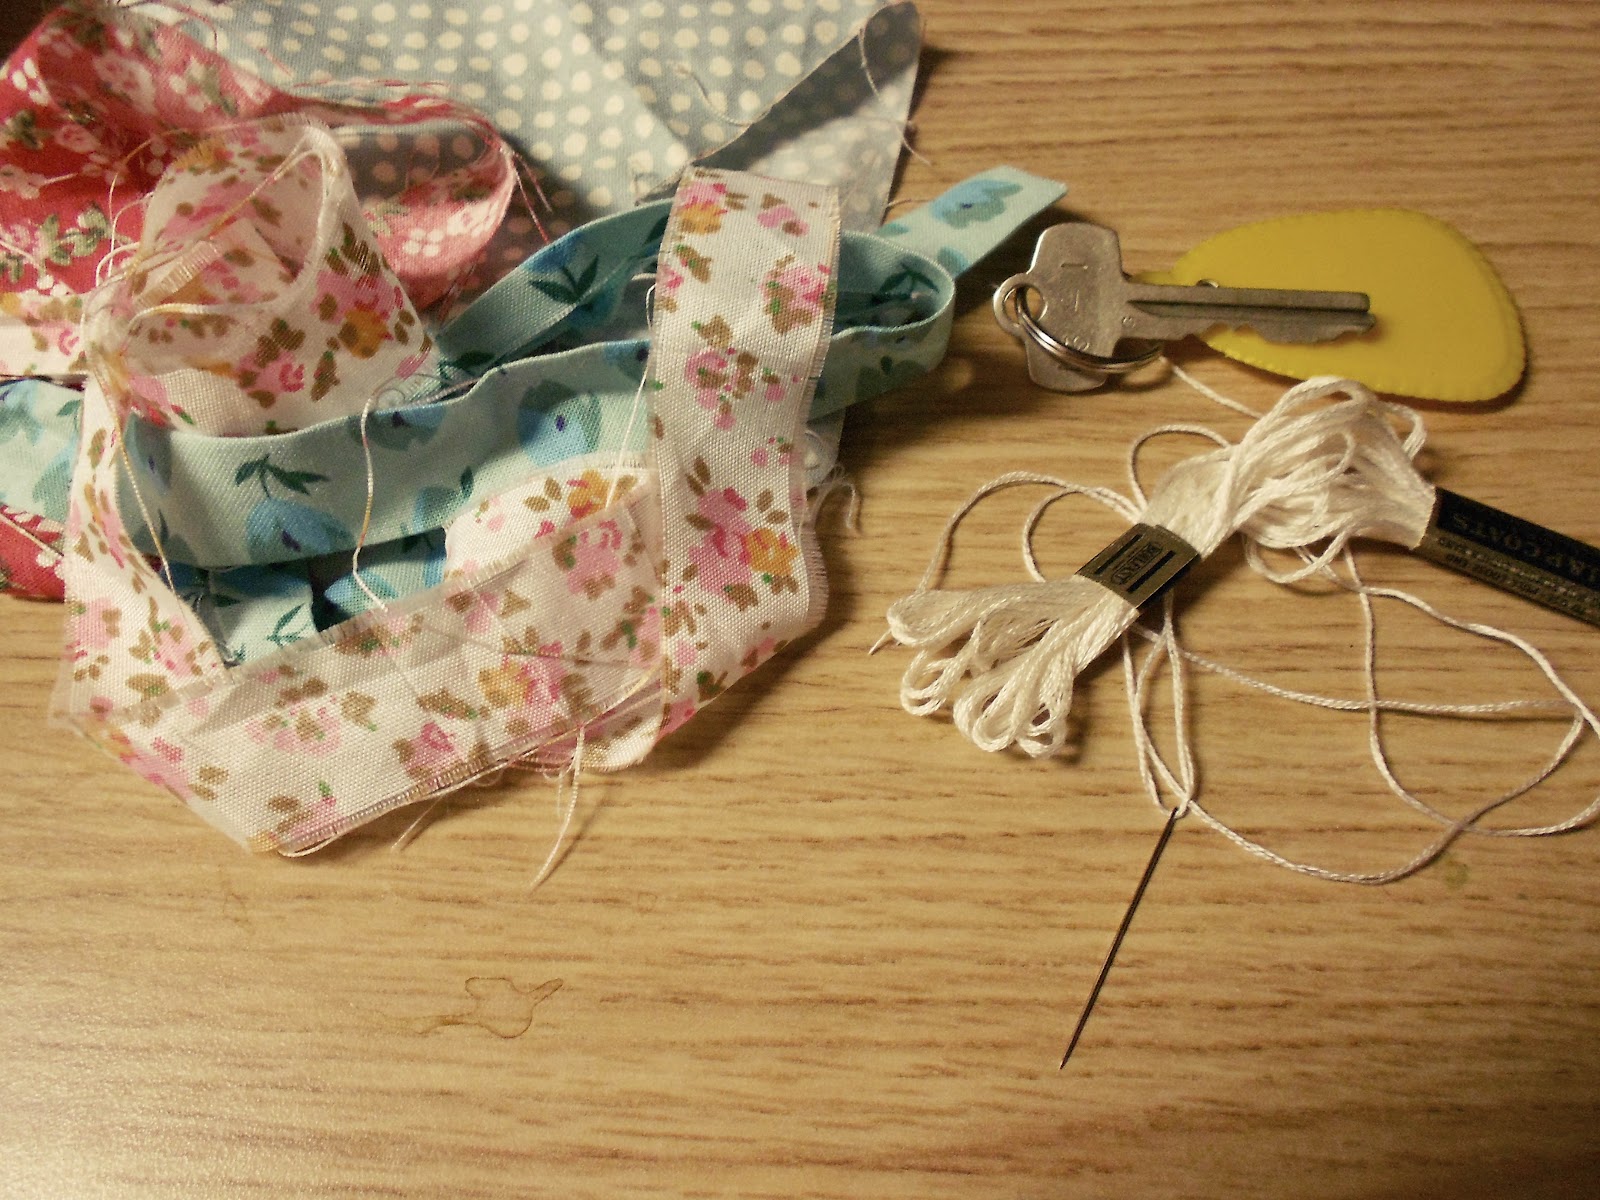
So everyone's probably wondering, "What are we up to today, y'all?"
Well, I'm here to tell you that you're in for a treat today! A slightly less crazy treat than before, but a treat nonetheless.
Who else absolutely hates it when you get a bunch of keys with a terribly ugly keychain, and no way to tell them apart? I can't be the only one. Well, I've sure got good news for you then!
Today's DIY comes to you in two parts.
Part 1: The Keychain
Story time: I picked up my keys to work the other day, and the lady behind the counter gave them to me saying, "Each key costs $25 to replace if you lose them. You have $50 worth of keys right here." (As if I couldn't add. Like I'm not in college or anything.) "DON'T LOSE THEM."
Got it, ma'am. Well, just to make her happy, I plan on never losing my keys! Because if I lose my keys, I lose this fabulous keychain!
Making this keychain is super easy.
Materials you shall need:
keys (and a keychain)
fabric scraps
scissors
embroidery floss and a (threaded) needle
cotton balls (not pictured)
First, you'll want to cut out a shape out of the largest of your fabric scraps. Whatever shape you want. I did an oval-y egg shape in blue with white polka-dots. Make sure you cut out
two of this shape.
Next, you'll want to cut a strip of a different fabric about an inch or so long, and about half as wide. This will be the part that goes around the keychain. If you want a clean edge, you can fold each of the long sides under a little bit (I did, and I really should have taken a picture of it too...).
You're going to fold this strip into a loop, and place it halfway in between the main pieces of the keychain. Make sure, in this step, that on the main part of the keychain, the
wrong sides are facing each other (we're going to leave the edge unfinished) and that on the loop, the
closed end is out.
Now you can start sewing! I started where the loop was, so I ended up going through a couple layers of fabric. Make sure the loop is in there good and tight, and sew almost all the way around your shape.

When you get close to the end of your sewing, stuff a few fluffed-up cotton balls in there to make your keychain all nice and puffy and squishy!
Finish sewing the rest of the way around your shape, tie it off, and voila! A beautiful keychain! Granted, you have to still get it on the keyring, but that shouldn't be hard at all. Just slide it around until it's good and on there.
I felt like mine was missing something, so I made a quick fabric flower (out of a circled strip of a contrasting fabric) and stitched it onto the main keychain real quick. This part is optional, though. Purely up to you.
Voila! (Picture #2, here.)
Part 2: The Key "Wrap"
Now, I'm sure you hate it when you can't for the life of you figure out which key goes to which lock. Especially when they're almost the same shape.
It's a struggle. Every day.
I know they make those super cute covers for keys and whatnot. They're not that expensive, really. And I had some last year. They just... fell apart. About halfway through the year, my cute owl covers for my keys were useless.
Well, I came up with a clever, durable yet non-permanent (we wouldn't want Kelly to have to pay $50 for a set of "ruined"--read "embellished"--keys, now, would we?) solution to this pressing problem.
On one key, (I took the one to my office, as opposed to the one to the building), I made this cute little wrap. Super easy, super cute, and now you can make one too!
What you need:
key
fabric scraps
masking tape
glue
Here, I cut a bit of masking tape, enough to go around my key about one-and-a-half times, hot glued a strip of fabric to it, and wrapped it around the head of the key.
What did I tell you? Super easy, right?
This would be cute with just about anything. Fabric, paper, fake flowers... pompoms.... beatles... THE Beatles... You could also just wrap a bit of tape around there and doodle. Or just a piece of colorful duct tape or something. Get creative.


 Obviously this shirt is fantastic. Well, maybe not the shirt itself, but who doesn't love a graphic print? And this one is pretty fantastic. One of the best ones I've seen. But the shirt itself is 8 sizes too big, and has an absolutely terrible crocheted lace "bib".